3
September
How To Clean Your Whipped Cream Dispenser Properly
Use this how-to tutorial before using one of our Whip-eez cream canisters for the first time and/or for periodical maintenance.
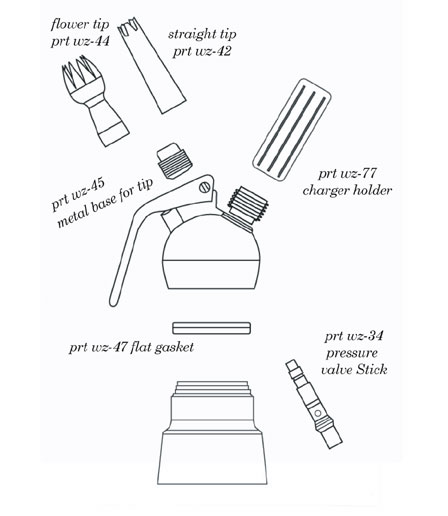
Before you can properly clean your whipped cream dispenser, you should know each of the parts:
1) Decorating tip
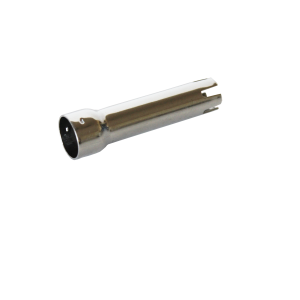
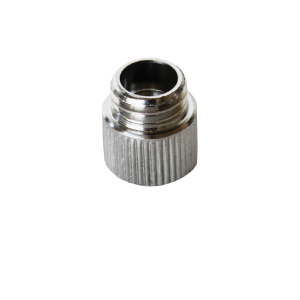
2) Metal base (one piece tip models do not have this)
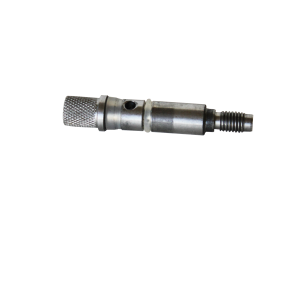
3) Pressure valve stick
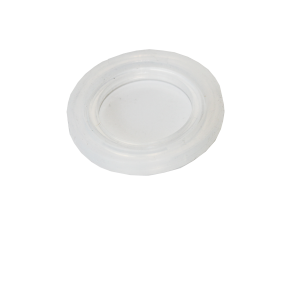
4) Flat gasket
5) Protective cap

6) Charger holder
7) Dispenser head & bottle

Disassembling your whipped cream dispenser before cleaning:
Step 1: Unscrew head from bottle.
Please note: NEVER try to unscrew head when the dispenser is currently charged with N2O. You need to release any extra gas that might still be in the bottle by pressing the handle.
Step 2: Screw off decorating tip and/or protective cap/charger holder.
Step 3: If your model has a separate metal base, remove that now.
Step 4: Turn dispenser head over and pull out flat gasket ring from inside the head.
Step 5: Push pressure valve stick from the top of the head back through the inside where you can fully remove it.
Step 6: You are ready to clean your dispenser!
Properly cleaning your dispenser:
After all parts are removed and separated, use a soft sponge or cloth to gently scrub each part clean. Use warm soapy water, rinse and dry by using a soft cloth or air dry.
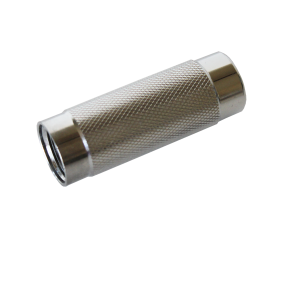
Every dispenser comes with a cleaning brush, this brush is designed to help clean the decorating tip and the pressure valve stick.
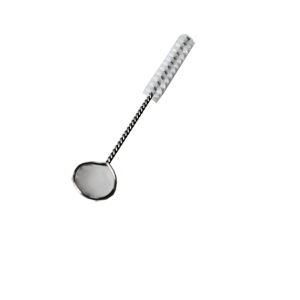
Cleaning the pressure valve stick: There are 2 areas of the pressure valve stick that the brush is created to help clean, one on the side and one on the tip. Gently insert the brush into each of the holes to clean thoroughly and remove any excess cream or particles.
Please Note:
- If you have an all stainless steel model, the head and bottle are dishwasher safe. (This does not include parts 1-6.) These parts should always be hand washed separately.
- Besides the stainless steel models, please hand wash your whipped cream dispenser.
- If storing your whipped cream overnight, it is recommended to remove and rinse out the decorating tip.
- NEVER try to remove or harshly scrub the small gaskets on the pressure valve stick.
- NEVER use stainless steel cleaners or abrasive cleansers on your whipped cream dispenser.
- NEVER remove the pressure valve stick while the bottle is currently charged with N20.
Please let us know if you have any questions or comments!
One Comment
Leave a Reply
You must be logged in to post a comment.
Thank you for this information. So THAT is what the brush is for. I didn’t even know that the valve needed to come out to get cleaned. No wonder I had a hard time getting my whipped cream to come out like it did when it was new. After following the information, my dispenser now works great again. BTW, my valve was so clogged and the cream that was stuck in it looked like butter. Thanks again!